Using SmartyFile as an individual

SmartyFile is a free data repository that lets you see and access your submissions across multiple funders using SmartyGrants in one spot. You can also take advantage of SmartyFile’s pre-fill functionality to fill in forms quickly and efficiently.
Best of all, it’s completely free, and you can use your existing SmartyGrants account to log in to SmartyFile.
This page provides guidance for using SmartyFile as an individual. If you want to manage submissions on behalf of an organisation, we recommend reviewing our My Organisations page instead.
Table of contents
User registration and login
Users who are registered with SmartyGrants will already have a login. If this is you, you can jump straight to the login steps below. Otherwise, if you need to register, skip ahead to the next step (Register).
Login
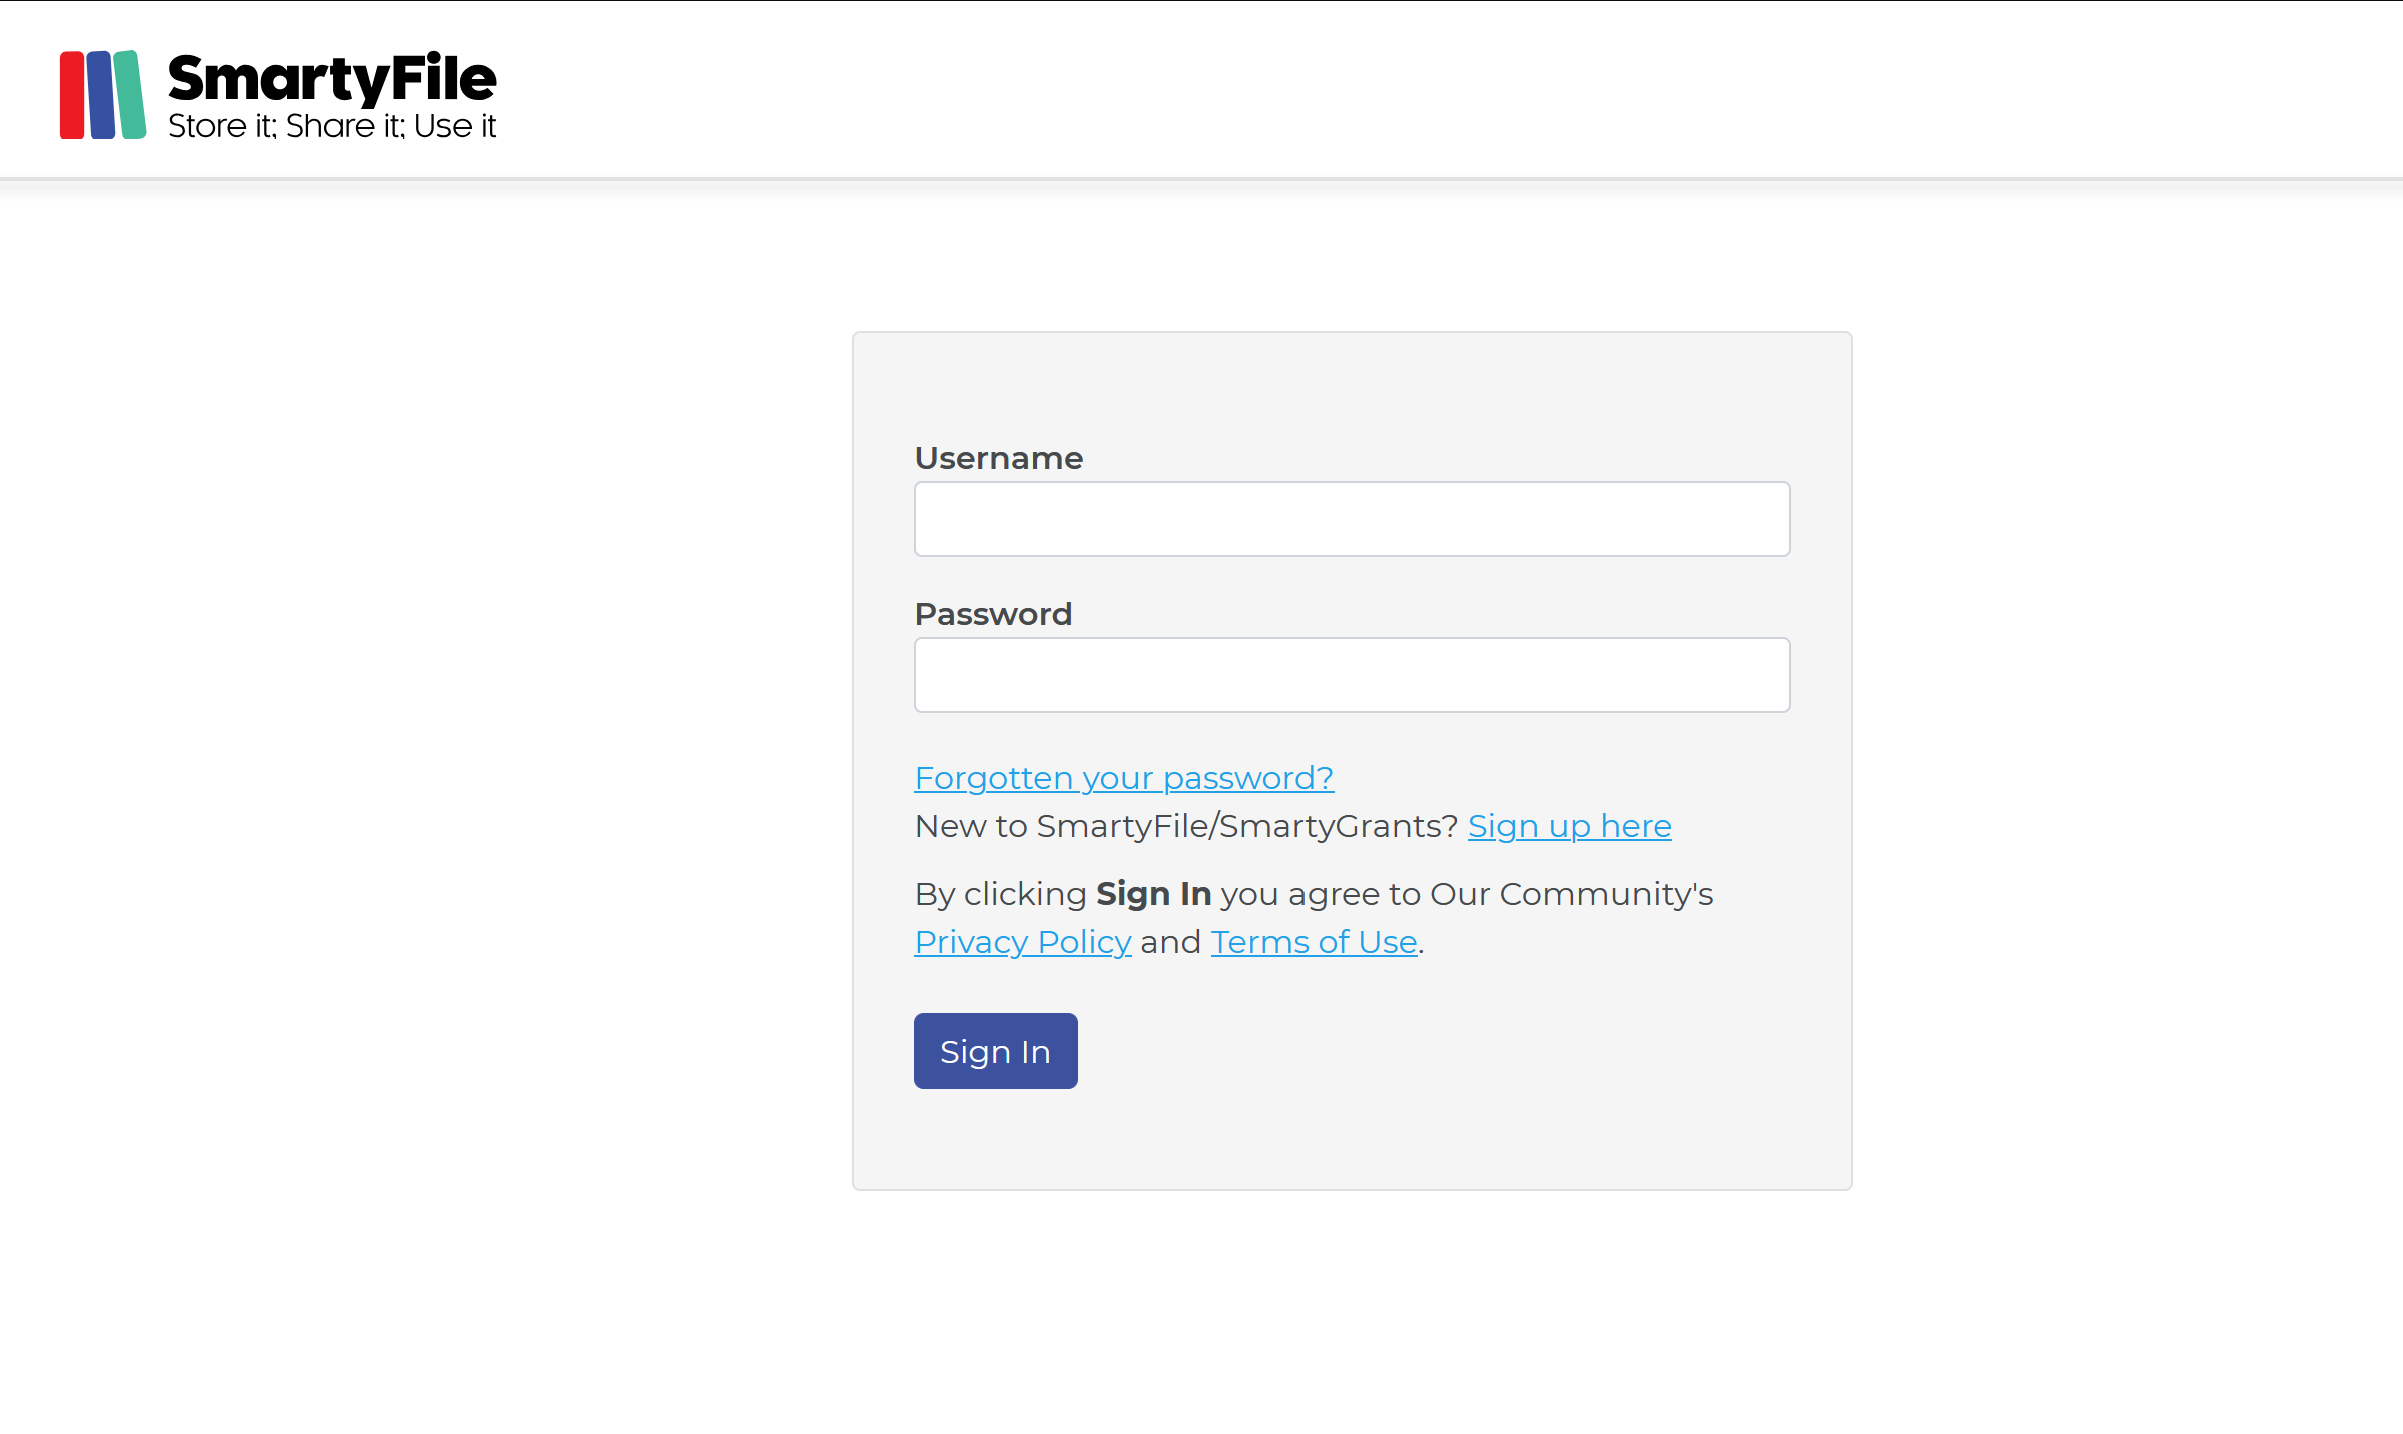
Head to app.smartyfile.com.au.
Enter your registered SmartyGrants email address and password into the Username and Password fields respectively.
Select Sign In.
Note: You must have a SmartyGrants account to log in to SmartyFile. If you do not have an existing SmartyGrants account, you can create one using the guidance found in the next step (Register).
Note: If you have previously enabled Multi-Factor Authentication, you will be required to use MFA to log in. If this is the case, see here for help.
Register
Enter your details, then select Register.
Once you have entered in your details and selected the register button, SmartyGrants will send an activation email to the email address you entered. To activate the account, navigate to that email account’s inbox, open the activation email, and select the activation link.
Important: An activation email may take up to 15 minutes to arrive. If you don’t see the email in your inbox, check your junk or spam folder.
Once your account is activated, you can go to https://app.smartyfile.com.au and log in using the steps here.
Forgotten your password?
If you’ve forgotten your password, you’ll need to reset it by creating a new one.
Head to app.smartyfile.com.au.
Select Forgotten your password?.
Enter in your registered email address and select Reset Password.
An automatic email will be sent to that email address if the email address belongs to an existing SmartyGrants account. In that email, you will receive steps on how to reset your password. Follow the instructions and select the link provided. This will take you to a page where you can create your new password.
Important: A password reset email may take up to 15 minutes to arrive. If you don’t see the email in your inbox, check your junk or spam folder.
Enter in your new password twice, then select the Submit button.
If you are stuck on any of the steps above, or still need assistance with signing into SmartyFile, you can also review our advice on our SmartyGrants FAQ page here.
My Profile
Update user details
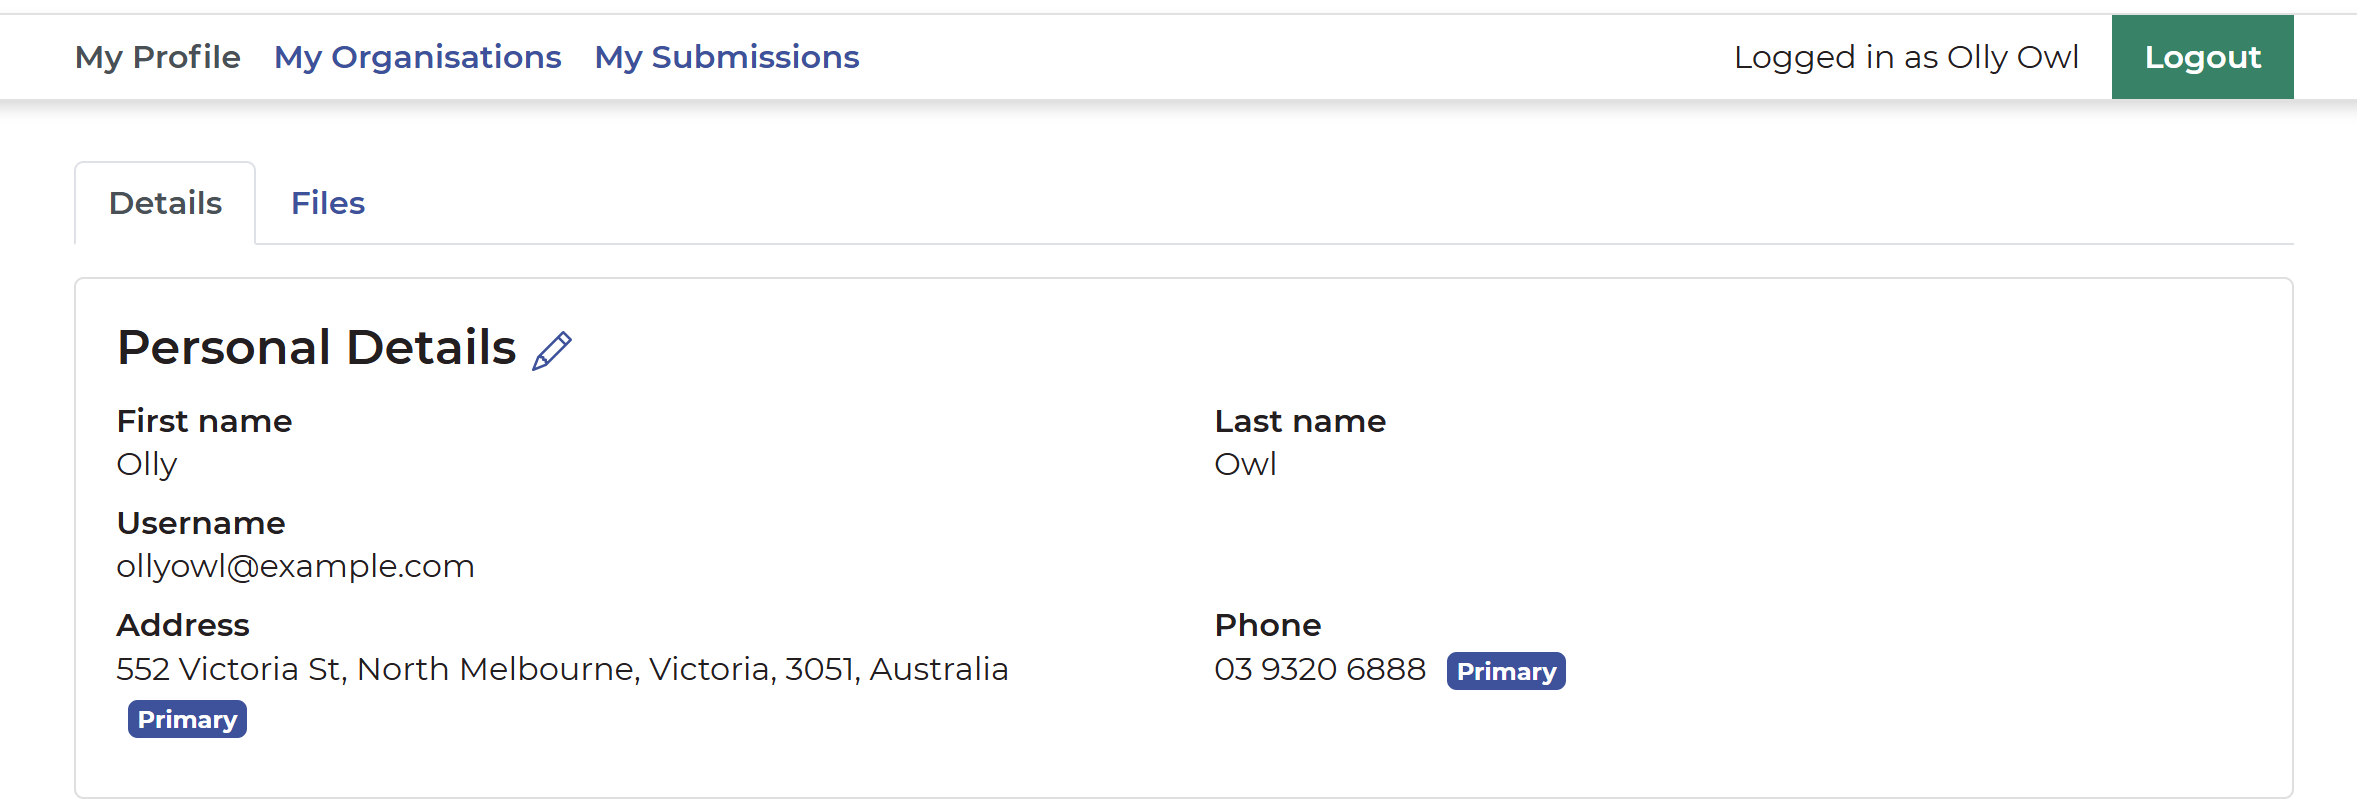
Each user who has a SmartyFile account also has a personal My Profile section where they can keep their contact details up to date. This information can then be auto-filled into forms from funders who use SmartyGrants.
While in the My Profile tab, select the pencil icon to edit or add contact information.
Pre-fill user details
You can pre-fill information from your profile as an individual.
As long as you have completed your My Profile details on SmartyFile, when you next log in to SmartyGrants to start or continue a submission, you will see the details available to pre-fill.
Note: Pre-fill is optional. You can still manually update any field - i.e override the pre-fill results with your own answer - if you want to.
Personal File Storage
Files can be stored in the My Profile tab. These files can then be easily accessed by you while completing any attachment fields or questions in forms powered by SmartyGrants.
You will have a maximum of 2GB of file storage. If this storage limit is reached, you can delete any files that are no longer required or whose expiry date has passed.
The maximum individual file size that can be uploaded is 25MB and must be of a file type supported by SmartyGrants. For a full list of file types supported by SmartyGrants, please see here.
Upload files
From My Profile, select the Files tab. Then:
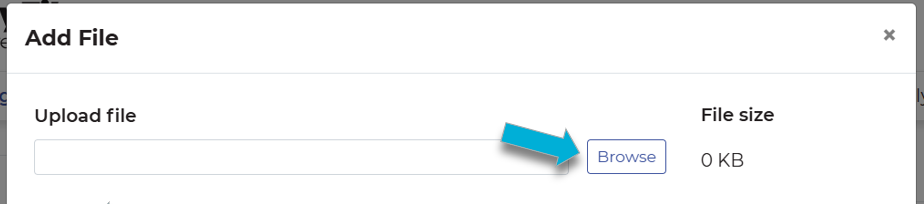
Select the Add File button.

Select the file you would like to upload to SmartyFile from your device's file browser by selecting Browse.
You can add an optional description and expiry date.
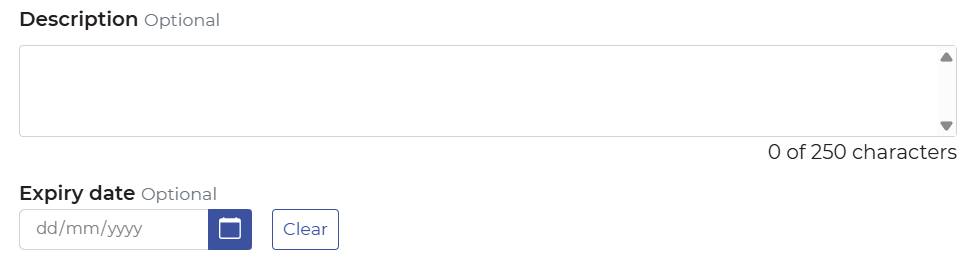
Select the Add button.
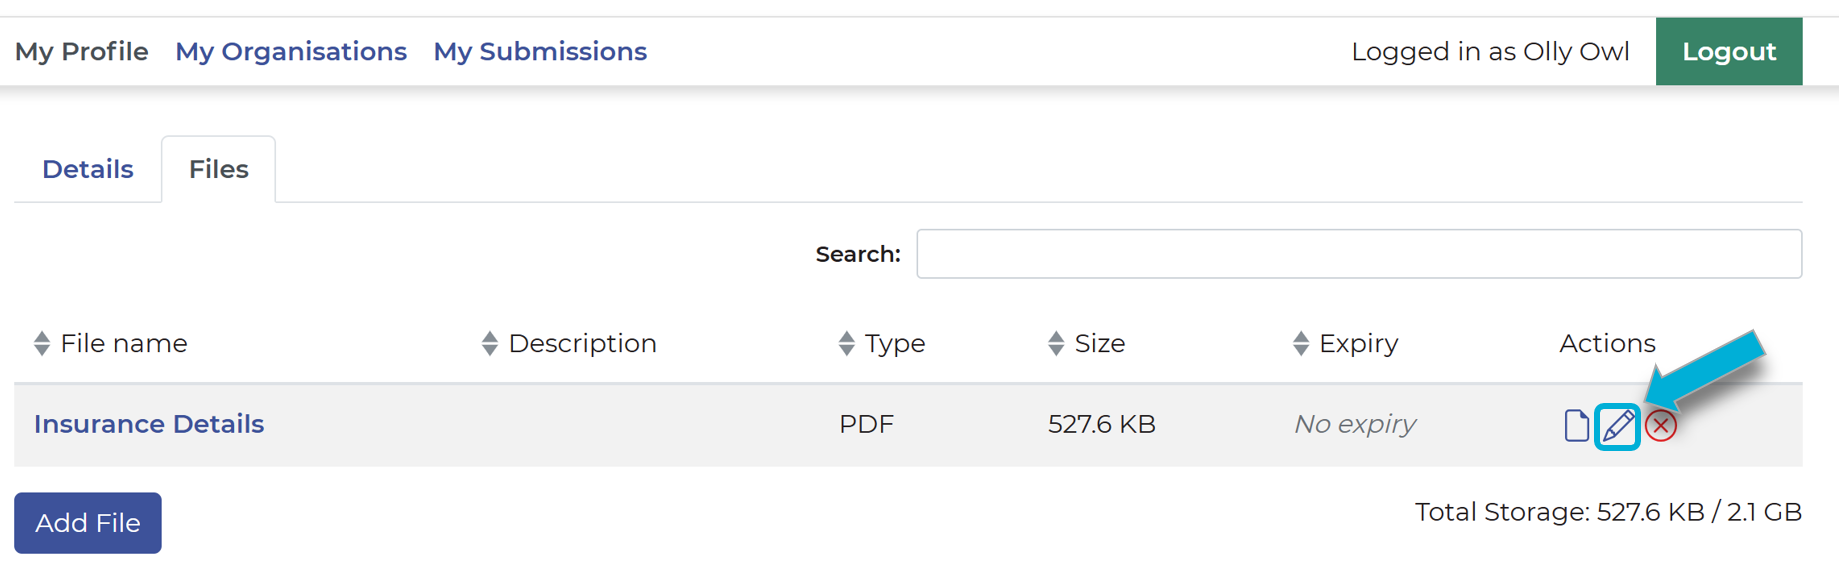
Edit files
From My Profile, select the Files tab. Then, select the pencil icon next to the file you wish to edit.
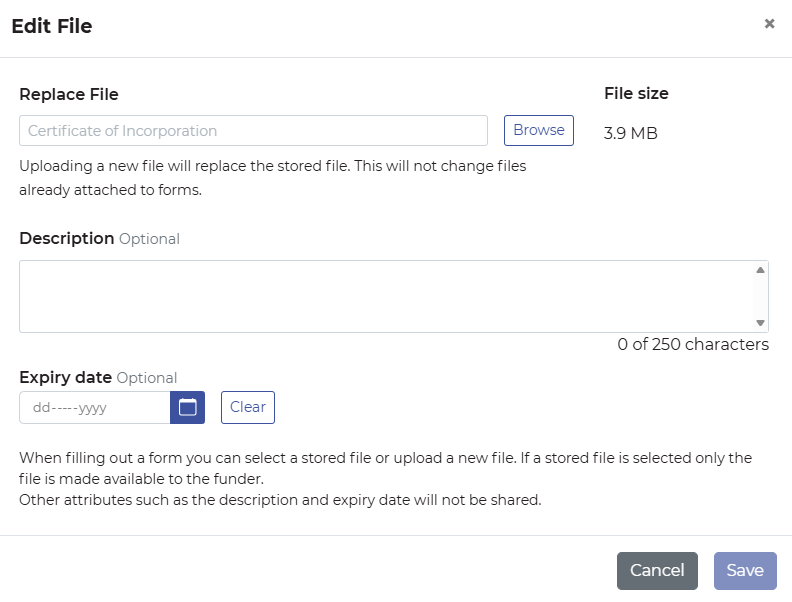
From the pop-up window, you can replace the file with a new file, update the description, and update the expiry date. Once you’ve made changes, select Save.
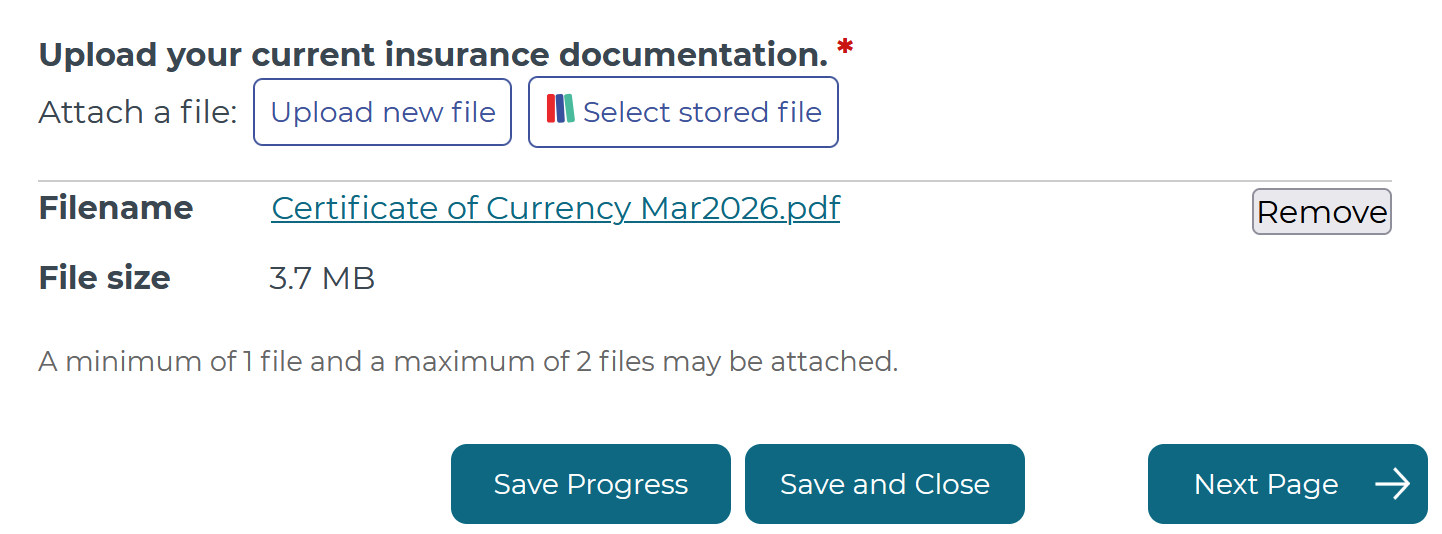
Using files in forms
Once files have been uploaded into SmartyFile, you will have them as an option when filling out a form powered by SmartyGrants.
To do this, when filling out a form:
Select the Select stored file button.

Select the file you would like to upload from the available options by selecting the check box to the left of the file name.
You can search for a file by file name using the Search field in the top right.
If the file you are looking for is not shown, please confirm that it has been uploaded correctly, and the expiry date (if set) has not passed.
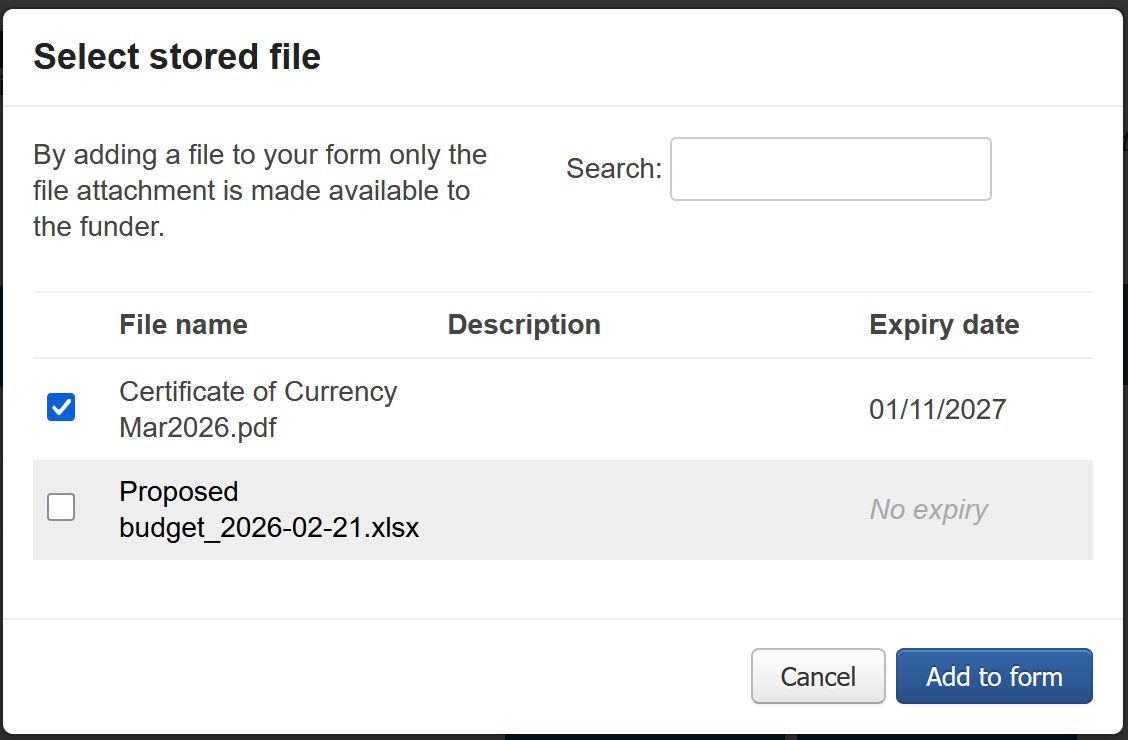
Once you have selected the file you wish to upload into the form, select Add to form.
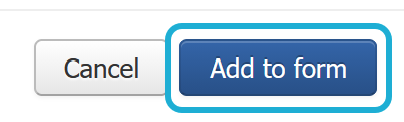
Once the button has been selected, the file will have been uploaded.
My Submissions
From My Submissions, you can search, sort, archive, delete draft submissions, and access forms for submissions across all funders using SmartyGrants.
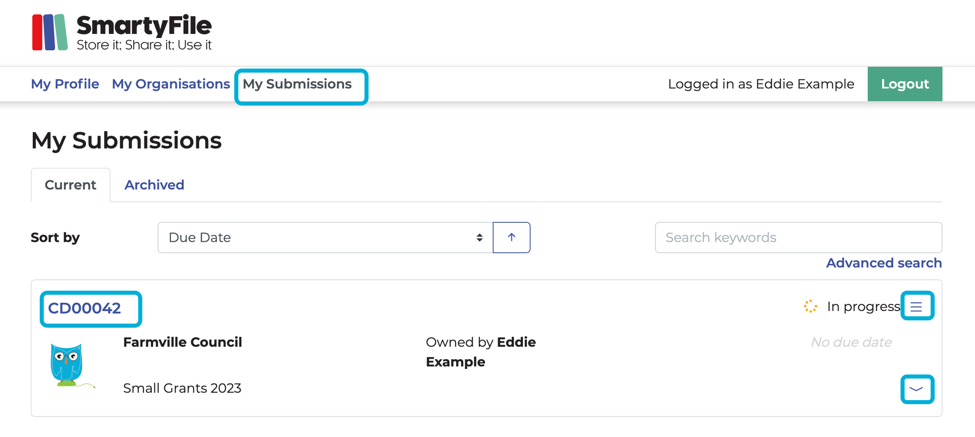
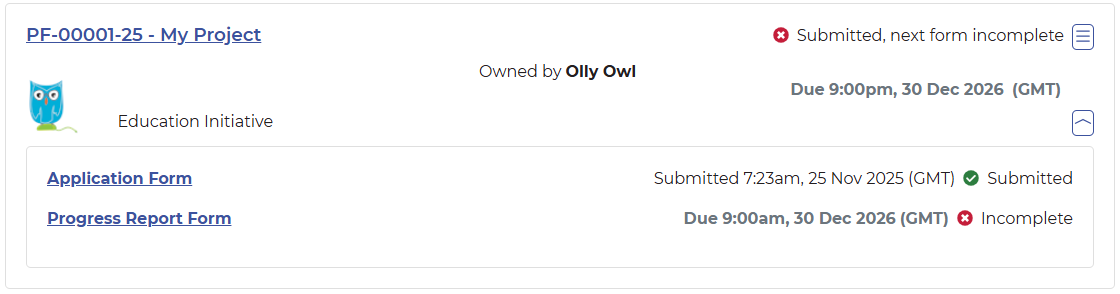
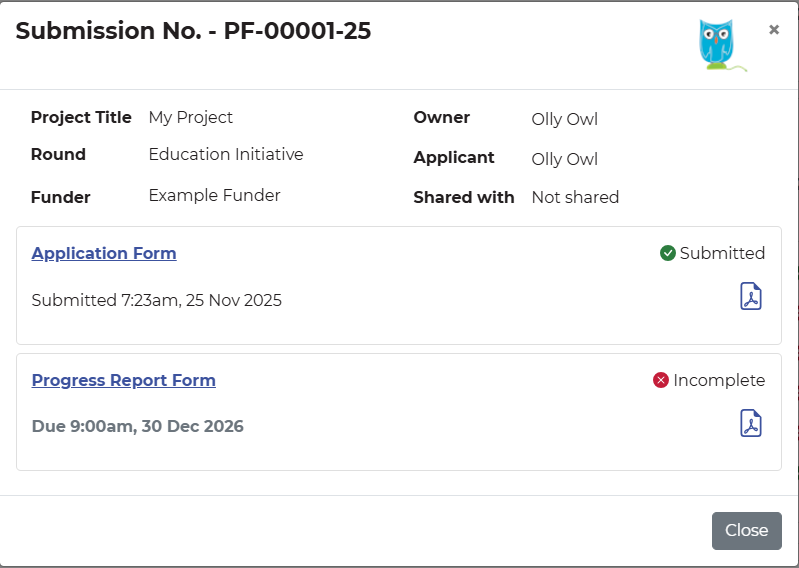
Accessing additional forms
To access forms within a submission, select either the Submission ID number, or the blue down arrow on the right-hand side of the submission.
Search
On the My Submissions page, you can search through your submissions. You can type keywords or a query into the search bar, or use the Advanced search function to search by a specific field type (i.e by round, due date, and more). Running a query allows you to search for partial words or wildcards in the search results. See Search functions for more information.

Sort by
On the My Submissions page, the default sort order of submissions is:
Incomplete (overdue submissions): sorted oldest to newest.
In progress with due date: sorted oldest to newest.
In progress without due date.
Submitted.
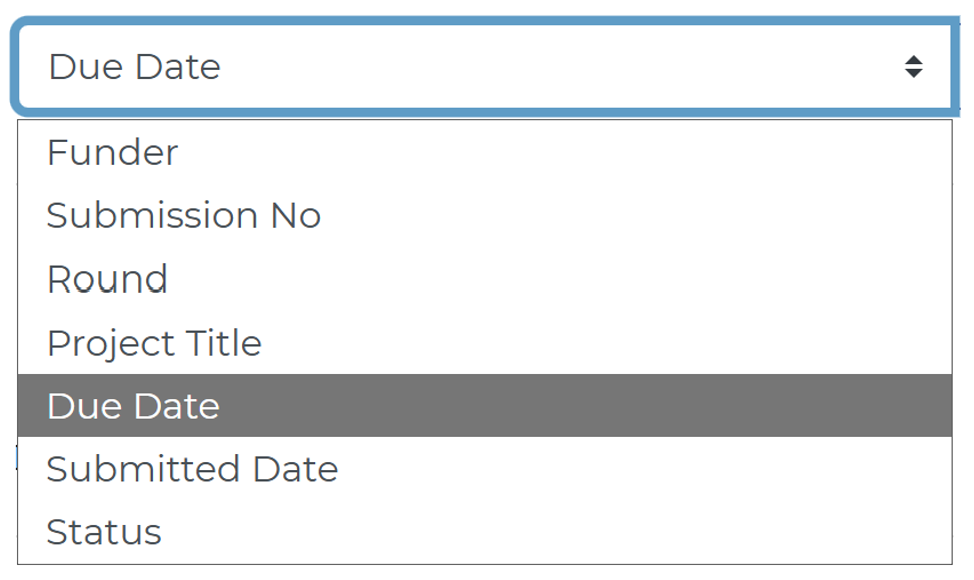
You have the ability to toggle your sort order and sort your submissions by:
Funder.
Submission No (Submission ID).
Round.
Project Title.
Due Date.
Submitted Date.
Status.
Delete a draft submission
Unsubmitted submissions with a status of In progress can be deleted.
Select My Submissions, and locate the submission you wish to delete.
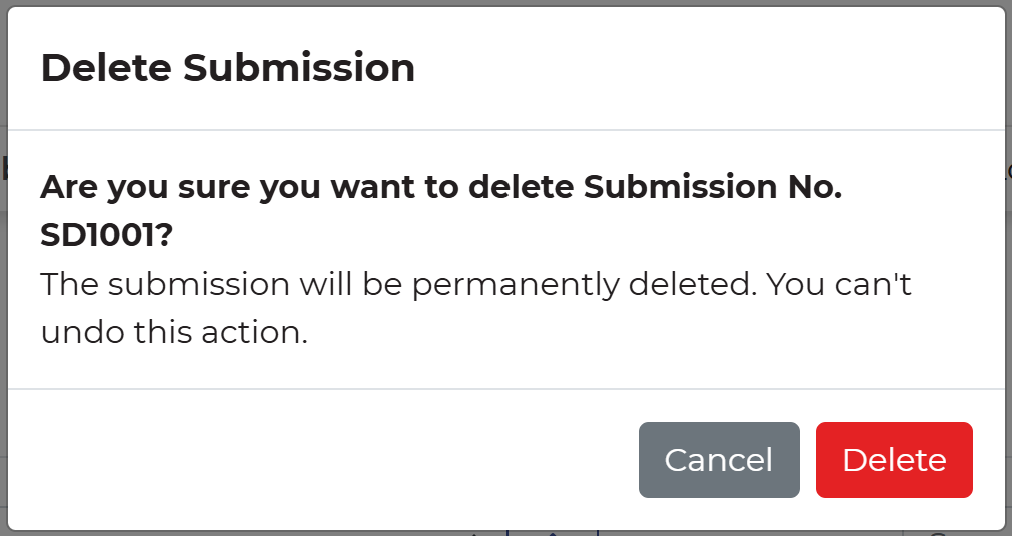
Select the hamburger (three lines) menu icon next to the status, and select Delete.
Confirming deletion means the submission will be PERMANENTLY deleted and unable to be retrieved. If you are sure, select Delete to confirm.

Archive or unarchive a submission
You can archive a submission that you no longer want to see on the default My Submissions Current tab. You may wish to do this for any past submissions that are completed and have no further action required. Note that archived submissions can always be reactivated ('unarchived') to the current tab if needed.
To archive a submission:
Select My Submissions, and locate the submission you wish to archive.
Select the hamburger (three lines) icon, then select Archive.

To unarchive a submission:
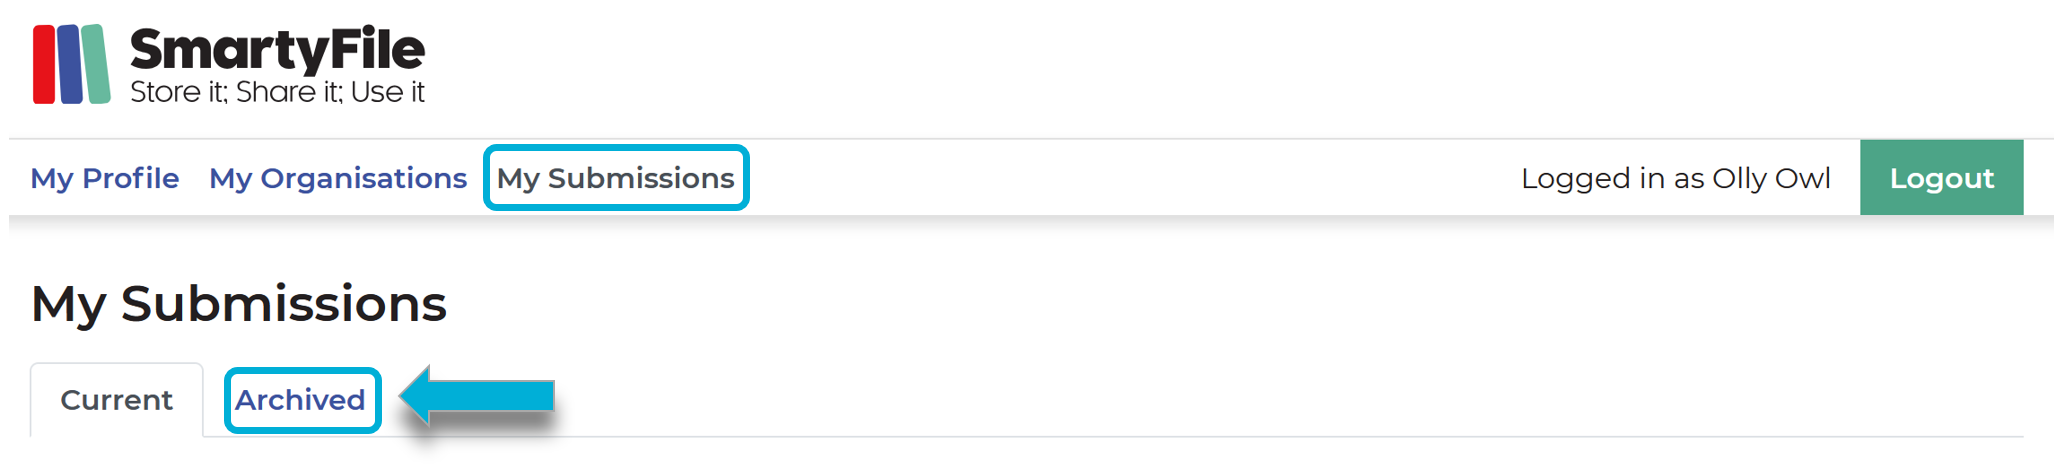
Select My Submissions.
Select the Archived tab:

Locate the submission you wish to unarchive.
Select the hamburger (three lines) icon next to the status, then select Unarchive.
